This guide walks you through creating an Instagram login application that supports Business and Creator accounts only. Personal Instagram accounts are no longer supported for authentication via the Instagram API — follow this guide to set up using Facebook Login with Instagram Graph API (required for business accounts).
NOTE: In 2020, Facebook started recommending to not use Instagram for authentication and instead using Facebook authentication for both Facebook and Instagram users. Instagram authentication does still work in a limited fashion, but may be discontinued at any time. If you plan to use the Instagram authentication only for users to authenticate to your site, we recommend configuring Facebook authentication instead.
Meta now restricts third‑party login integrations to Instagram Business or Creator accounts. This means you must:
- Convert your Instagram account to a Business or Creator account.
- Use Facebook Login + Instagram Graph API for authentication.
Before you get started, you will need an Instagram account and a Facebook Application. If you don't already have either, you'll need to create them.
- Go to the Meta for Developers dashboard: https://developers.facebook.com/apps
- Open your existing app or create a new one following our Facebook Application Setup Guide.
- Follow the Use Case Other when creating your app.
- Your app must be a Business Type
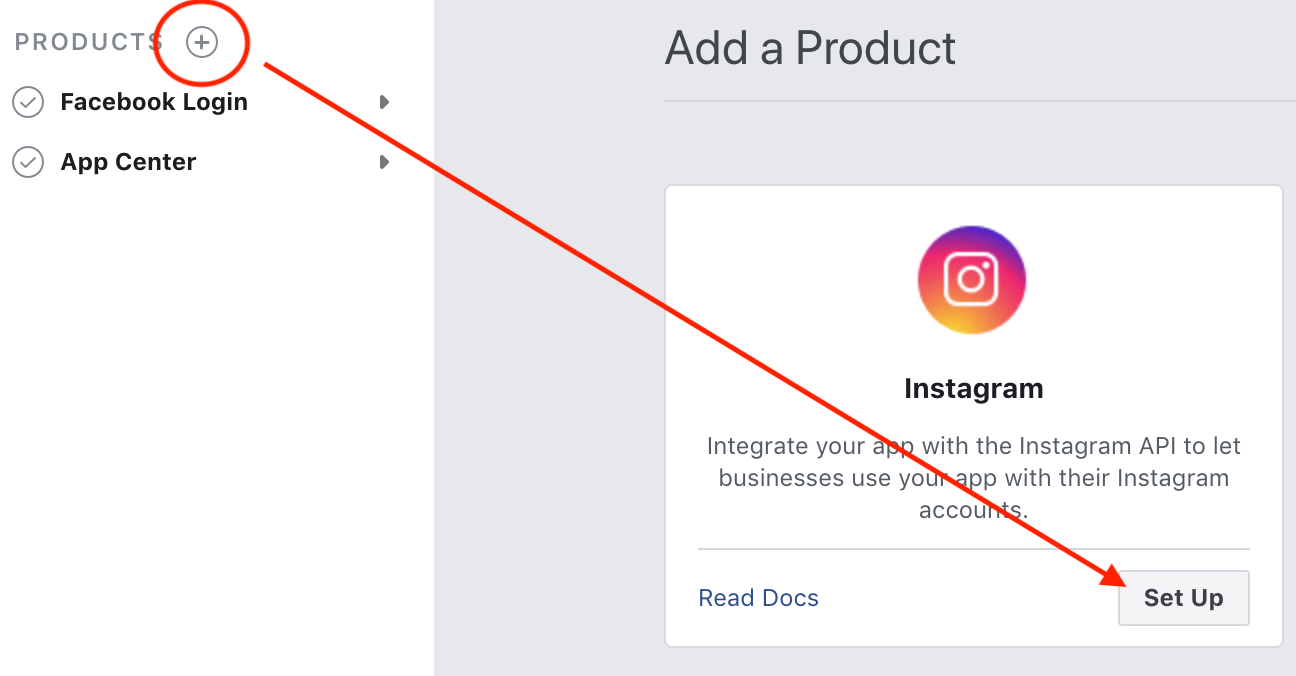
- In your app dashboard, click Add Product. In the Product section, add an Instagram product and create the app.
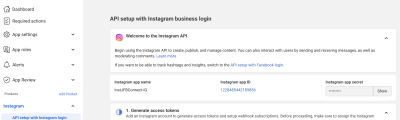
- The App ID and App Secret listed in API setup with Instagram business login section will be entered into JFBConnect backend > Configuration > Instagram Area. *Please do not use the Facebook App ID/Secret for your Instagram settings in JFBConnect.
- To test the Instagram app in Development Mode, you will need to create an Instagram Test User.
- Navigate to App Roles > Roles.
- Add a user to the Instagram Tester section.

- The Instagram Tester must then login to instagram.com and accept the Invite on before access will function correctly
- If you forget to add a tester, there will be errors returned from Instagram when you click on the Instagram Login button on your website.
- Live Facebook applications must go through the App Review process in order to use the Instagram authentication. You can test in Development Mode with the tester created in step 9 until you're ready to go live.