The Azure Entra Application setup process is described below. These steps below should guide you through the entire process.
Before you begin, please note: Azure requires an SSL certificate to be installed on your site for authentication to work. You will not be able to add Azure authentication if your site cannot be reached over https.
- Log into the Azure Entra Portal.
- Navigate to: Microsoft Entra ID and click View
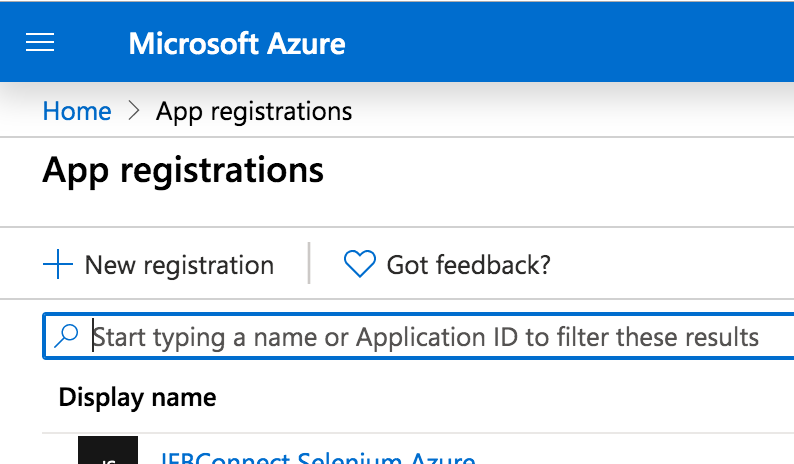
- Click into the App Registrations tab.
- Click the 'New registration' link.
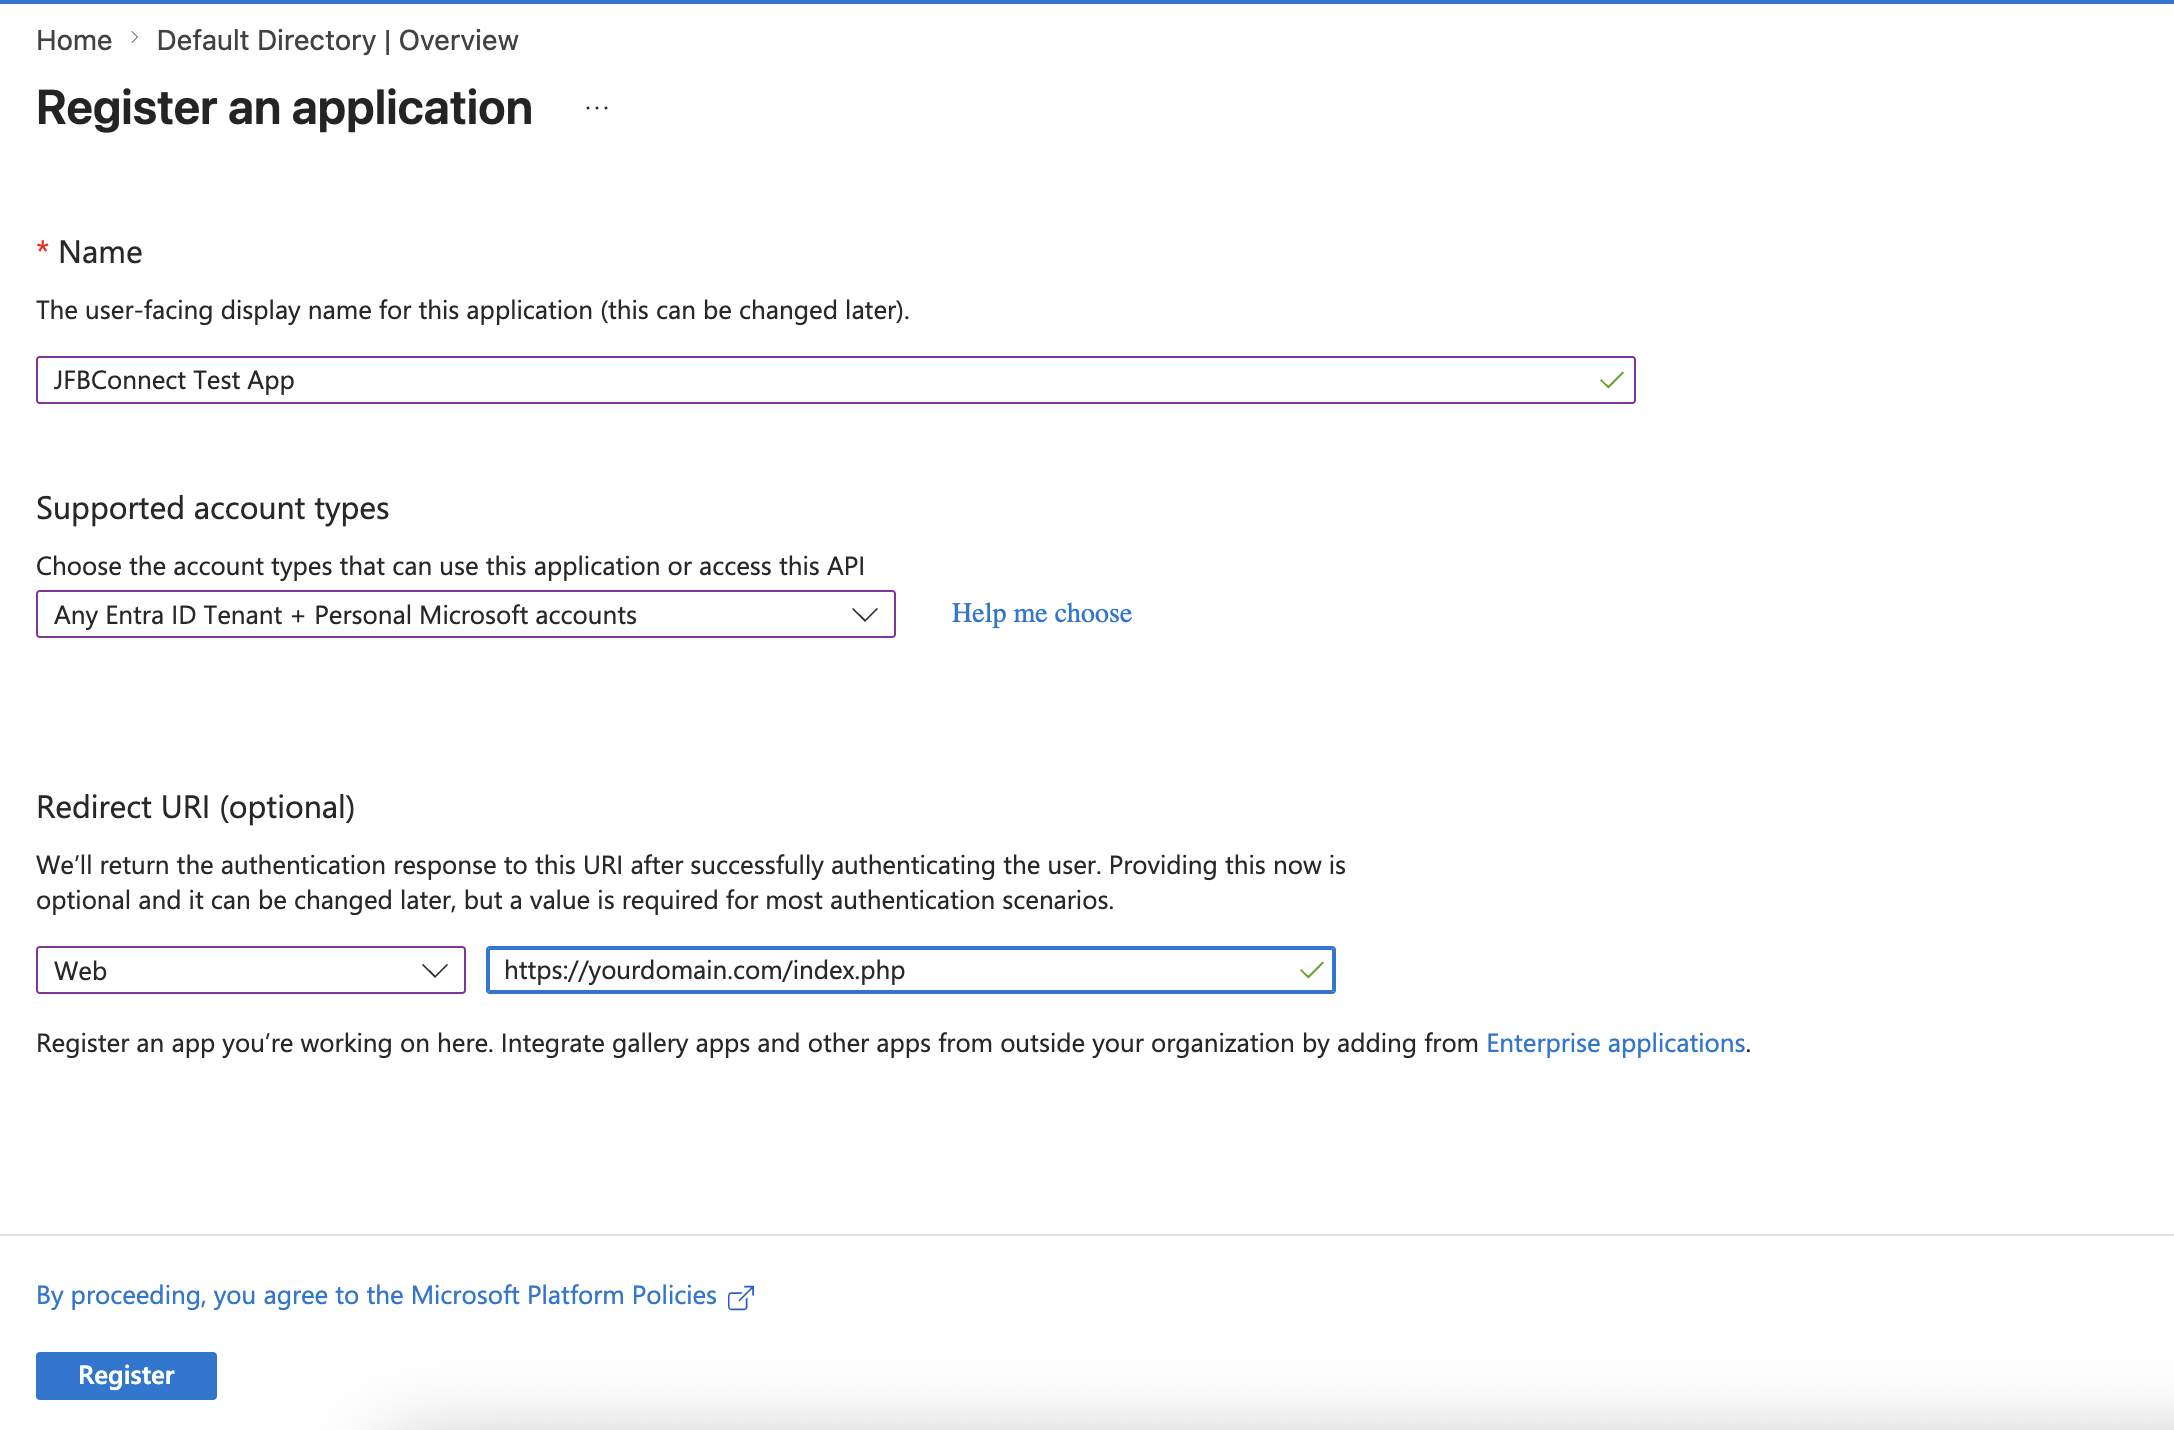
- Fill out the Name - A title for your application. Your website title is a good example.
- Select the appropriate Supported Account Types option for your site.
- Fill out the Redirect URI's for your website. This should be your full Homepage URL with index.php at the end. Add the following URL (replacing yourdomain.com with your actual domain name). Redirect URIs are restricted to https and if you have other ways to access your domain (like www and non-www), add them all here, like the following:
https://yourdomain.com/index.php
https://www.yourdomain.com/index.php
- Click the 'Register' button.
- Click on the 'Authentication' link in the Manage menu.
- In Settings > Live SDK Support - We have this switched to No in our application.
- In Settings > Implicit grant and hybrid flows - We have 'Access Tokens' and 'ID tokens' set to no in our application.
- Don't forget to click the 'Save' button at the top of the page.
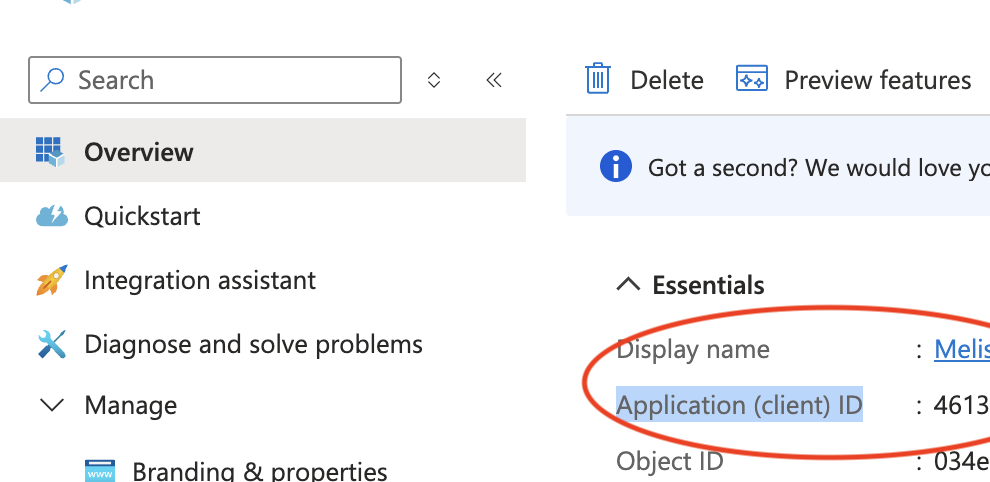
- Go to the Application's overview page and copy the application id. This will be used in the JFBConnect setting for Azure AD Client ID.
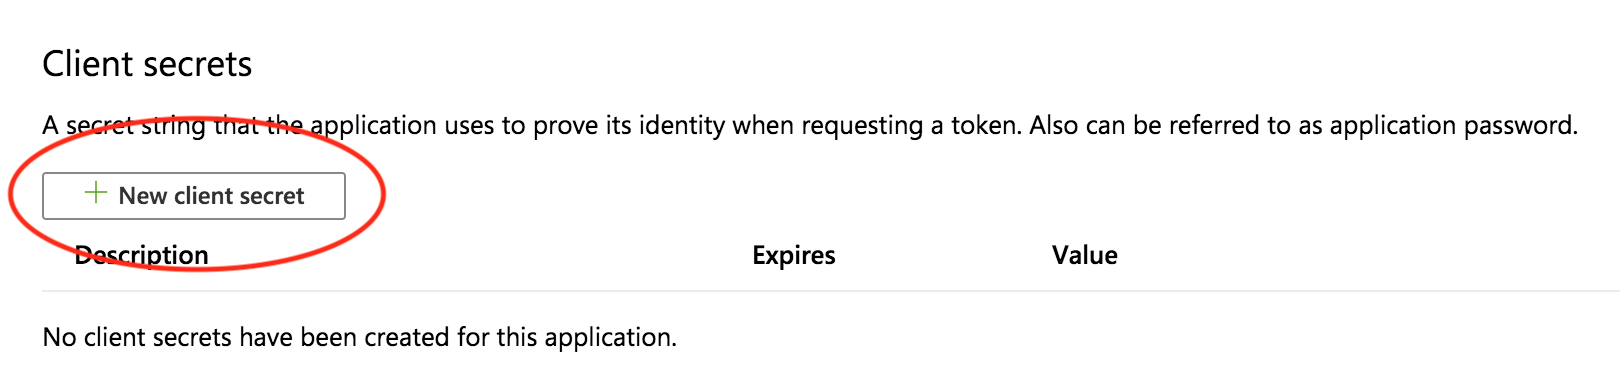
- Click on the 'Certificates & secrets' link in the Manage menu.
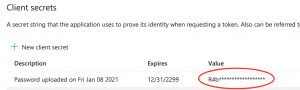
- Click the 'New Client Secret' button. Fill out a description, length of time for the secret to be valid and click the 'Add' button.
- A new client secret will be created and only displayed one time in a popup window. Make sure to copy this value for later use. If you forget, you can delete the secret and generate a new value.
- Use this Application Secret (described in steps 12-14) in the JFBConnect settings for Azure Client Secret. At this point, JFBConnect is ready for Azure authentication.