Creating a Facebook Business Application for Joomla takes just a few steps. This app type is aimed at business integrations for Facebook Login, Pages API for posting to Pages. If you're looking for a consumer application for consumer login, social widgets and user profile data, create a Facebook Consumer Application instead.
Please note that Facebook requires that your site has a valid SSL certificate and works over an SSL connection. If you don't have https for your site, services like Cloudflare are free and add SSL encryption to your site that works with Facebook.
- Log into Facebook with the account that you want to 'own' your Facebook Business application.
Note: Facebook requires all applications to be owned by real people. You cannot create a Facebook Business Application using a Facebook 'Page' account.
- Log into the Facebook Developer Center at:
http://developers.facebook.com/apps
- Click the "Create App" button as shown below:
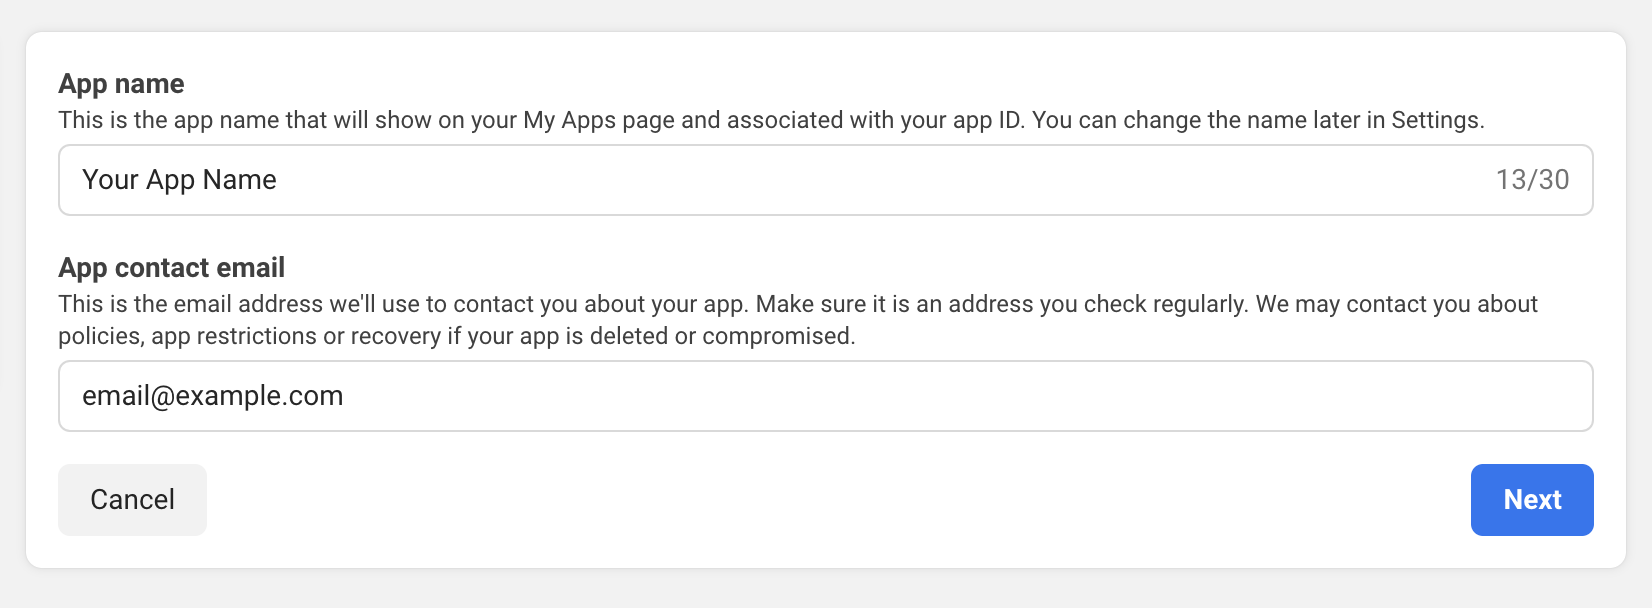
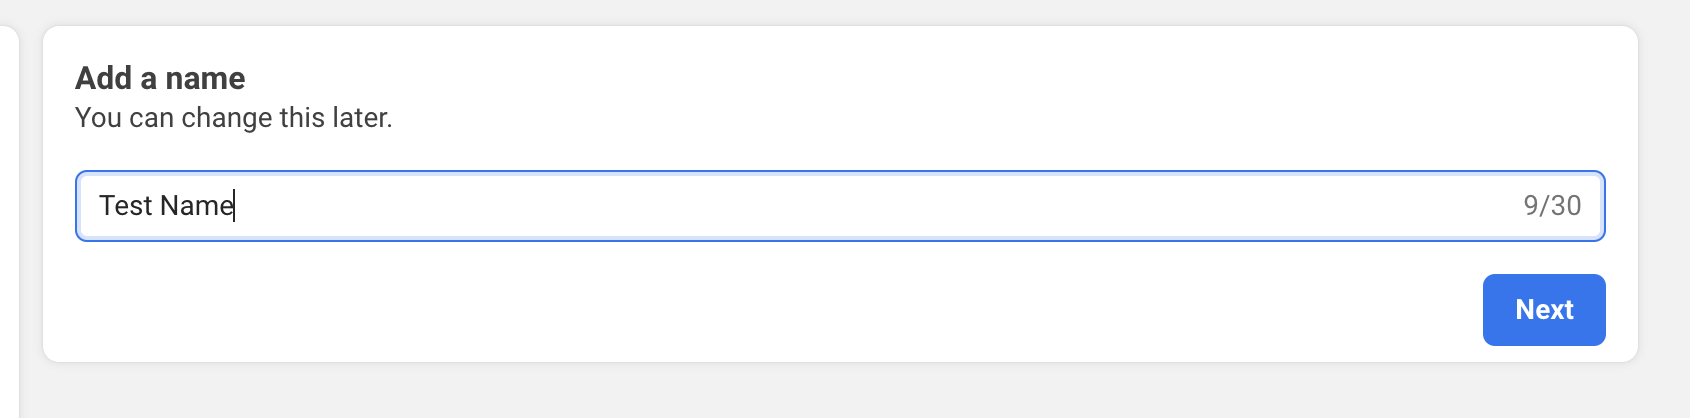
- On the 'Create an App' Details screen, enter an app name and contact email address.
- Click the 'Next' button.
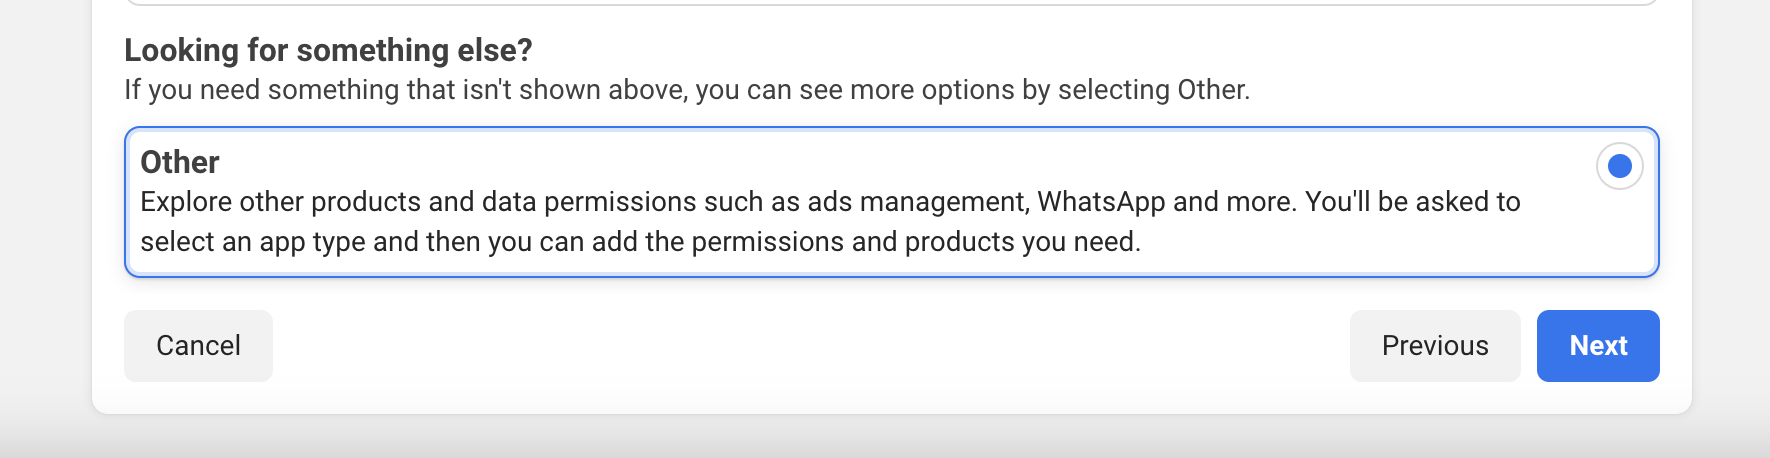
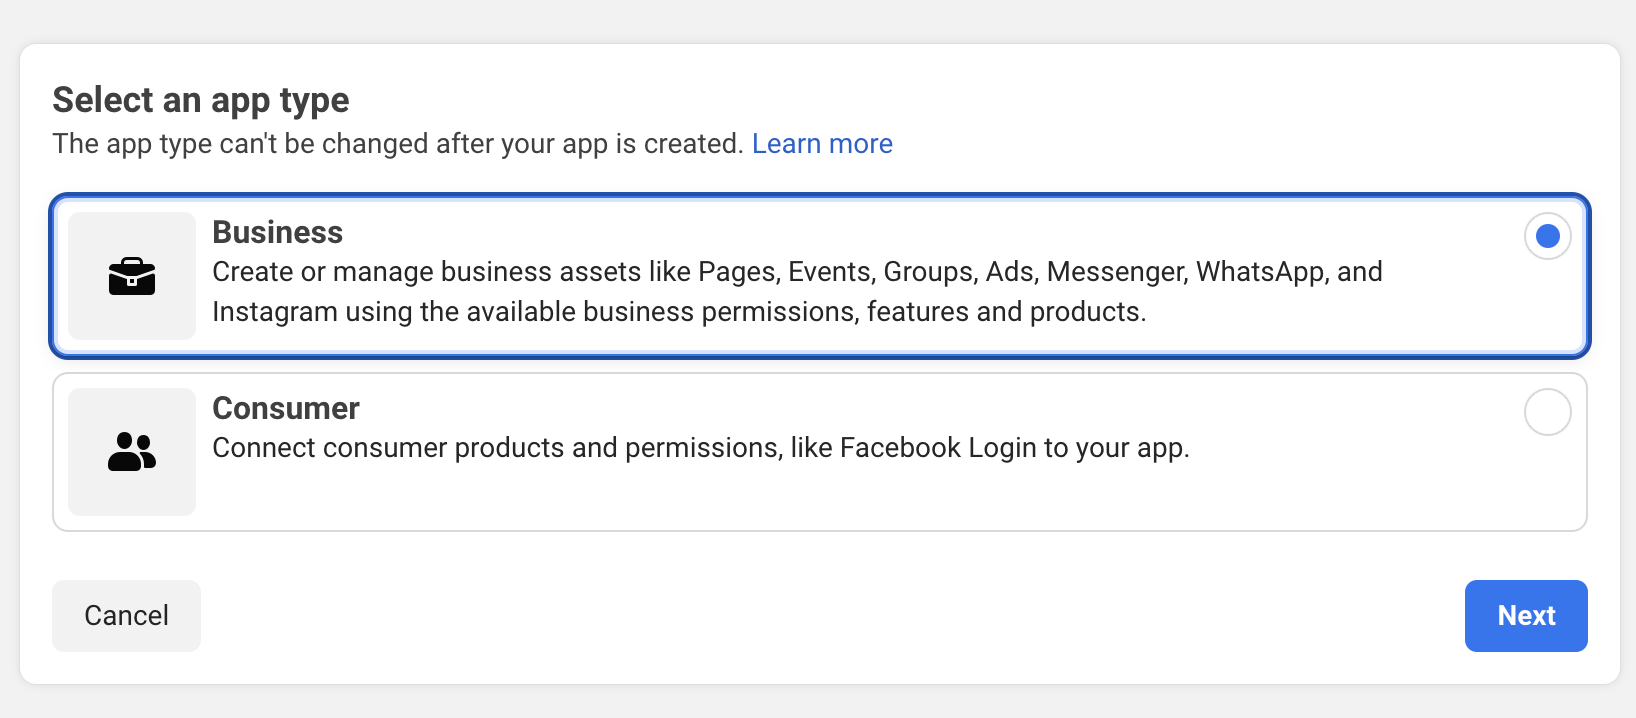
- On the "Create an App" screen, choose "Other" as the type of app, then select Business.
- Business allows for business integrations with Facebook Login, Pages API for posting to Pages, etc
- Consumer allows detailed profile information to be imported. Use this option to import profile data with JFBConnect into profile extensions such as JomSocial or EasySocial. If you need a Consumer app instead, create a Facebook Consumer Application.
- Click the 'Next' button.
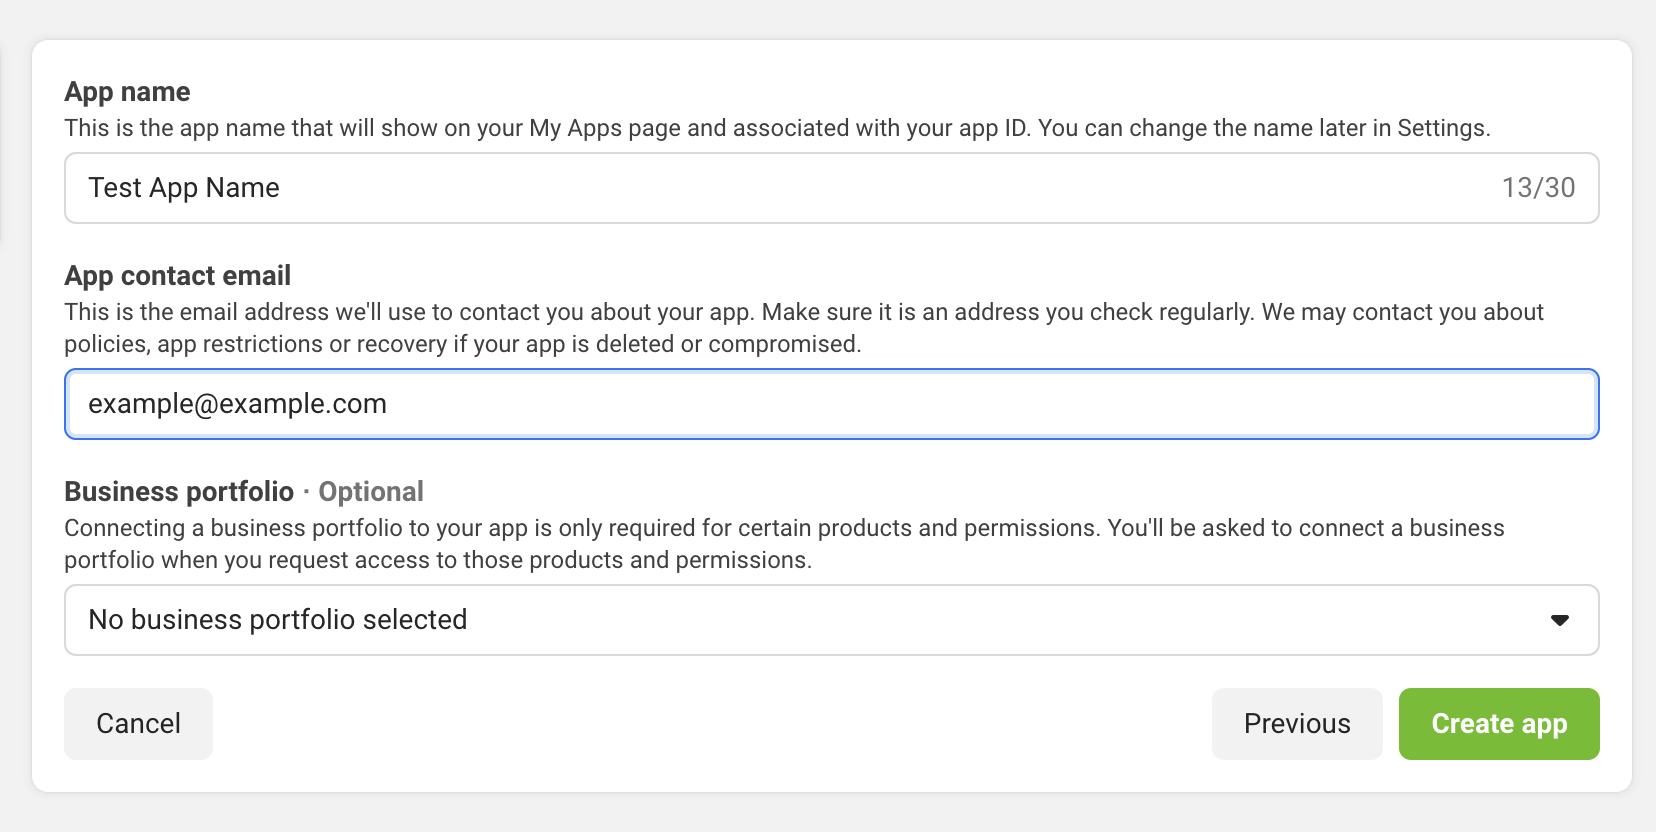
- On the 'Create an App' screen, enter App Name, contact email address, and Business Portfolio. (Note, setting up and verifying your Business Portfolio is outside the scope of this setup guide and our JFBConnect software)
- Click 'Create App' button.
- The application will be created at this point. You'll be redirected to the Product Setup section. Select the 'Set Up' button for the 'Facebook Login for Business' product. (We'll configure it later so just click it now.)
App Settings > Basic
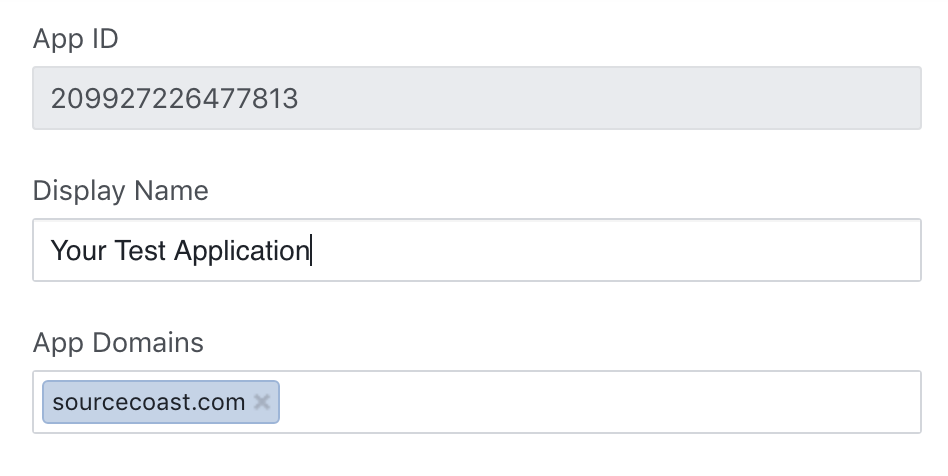
- Navigate into the App Settings > Basic section for your app. You should see a large window with information like the image below:
- Click the Show button to reveal your App Secret. Copy your "App ID" and "App Secret" down. You will use it in the Autotune Configuration Tool within JFBConnect.
- Add an "App domains" by entering text and hitting the 'Enter/Return' key to add the entry. This must match the domain of the Website URL you already entered.
- Select a "Category" for the app.
- Enter a "Privacy Policy URL".
- Enter a "Terms of Service URL".
- For User Data Deletion, select "Data Deletion Callback URL" and provide a link in the following format:
https://yourdomain.com/index.php?option=com_jfbconnect&task=deleteData
- Select an "App Icon"
- Hit the Save Changes button at the bottom of the page.
App Settings > Basic > Add Platform
- Click the "Add Platform" button at the bottom of the Basic Settings page.
- Select "Website" as the platform type and click 'Next'
- Fill in the Site URL section
- Hit the Save Changes button at the bottom of the page.
App Settings > Advanced
- Navigate to the Settings > Advanced tab and set the "Native or Desktop app?" setting to 'No'
App Settings > Advanced > Security
- Enable the "Allow API Access to App Settings". This will allow JFBConnect's Autotune Configuration Tool access to setting up the application further.
- Once enabled, click Save Changes.
Facebook Login For Business > Settings
- Fill out the "Valid OAuth redirect URIs" setting with the following URLs (replacing yourdomain.com with your actual domain name). Secure HTTPS is required for Facebook Login. If you have multiple ways to access your domain (like www or non-www), add them all here, like below. Once done, click Save Changes.
https://yourdomain.com/index.php?option=com_jfbconnect&task=authenticate.callback&provider=facebookbusiness
https://www.yourdomain.com/index.php?option=com_jfbconnect&task=authenticate.callback&provider=facebookbusiness
- Set the "Deauthorize Callback URL" setting like the following:
https://yourdomain.com/index.php?option=com_jfbconnect&task=deauthorizeUser
- Click "Save Changes".
Facebook Login for Business > Configurations
You will need to set up a configuration in order to request scopes for JFBConnect's channels feature (reading/posting to Pages, etc)
- Click the 'Create Configuration' button
- Type any name
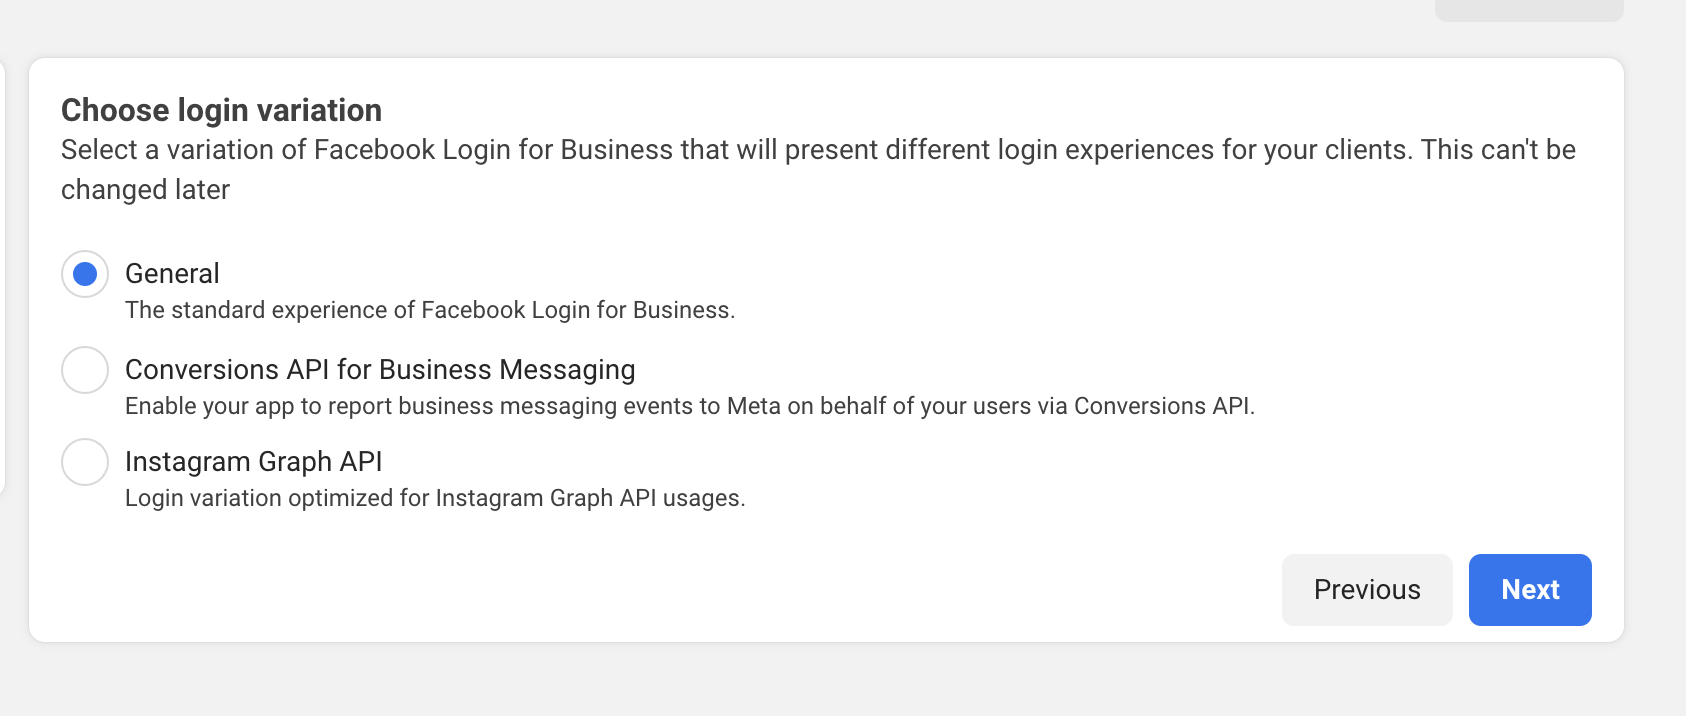
- Choose Login Variation 'General'
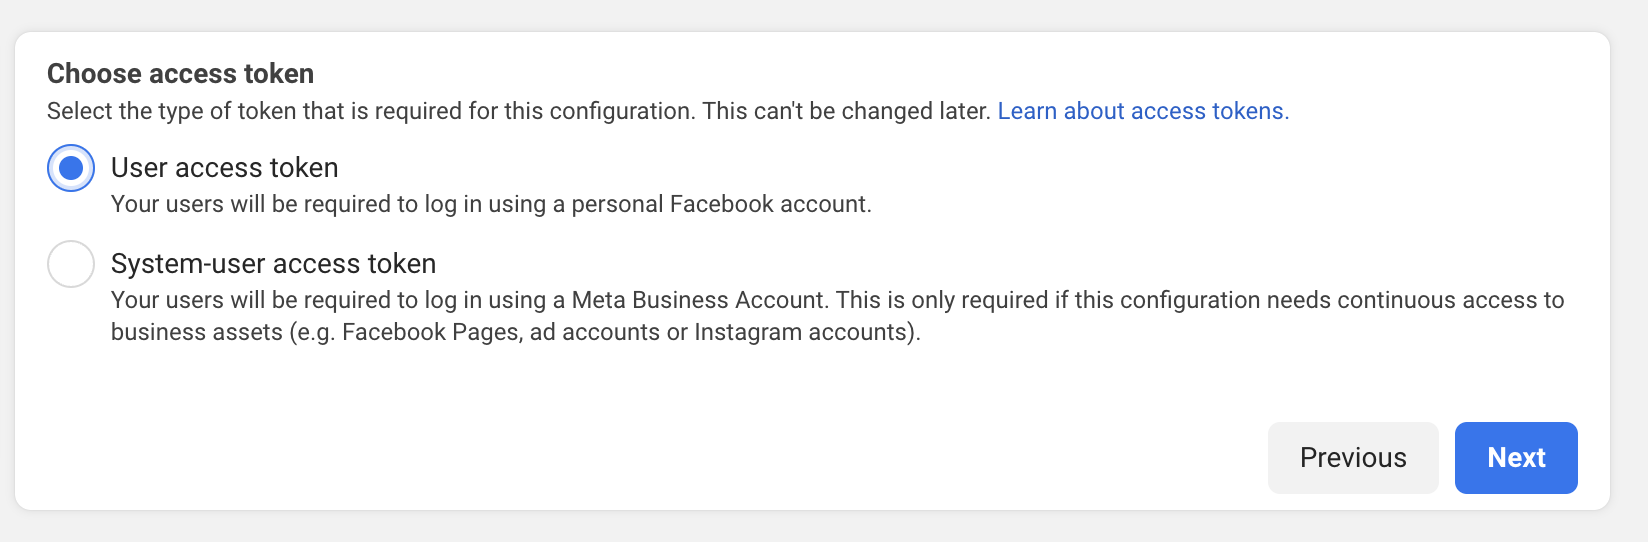
- Choose 'User Access Token'
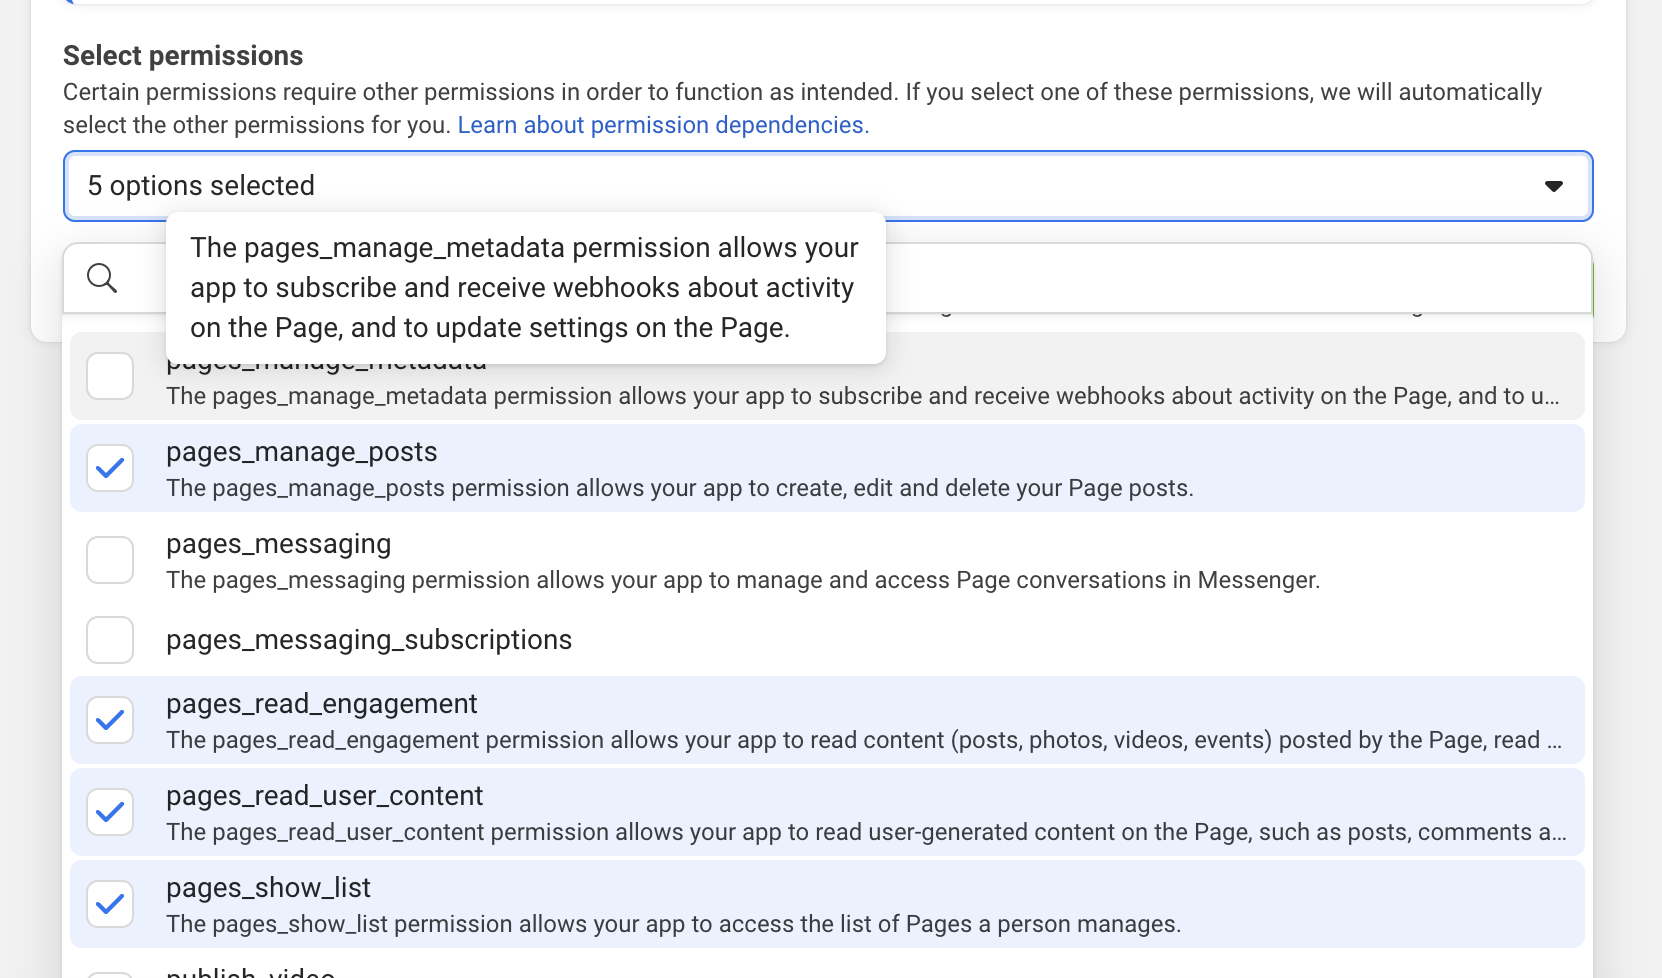
- Select the following permissions if you'd like to Access your pages with the app: email, page_manage_posts, pages_read_engagement, pages_read_user_content, pages_show_list. If you forget a permission you can always come back to the configuration, edit it and re-log in.
- 'Create' the configuration.
- Copy the configuration ID and enter it into the JFBConnect backend > Providers > Facebook Business > Configuration ID setting.
When you are complete with your Facebook Application, proceed to the Autotune Configuration section of the JFBConnect Configuration guide.