JFBConnect allows you to customize the social network login buttons. By default, JFBConnect provides an icon button for each social network and a bigger button with the icon and social network name. However, sometimes these don't fit in well with the theme of your site and it's now easier to replace these files. By taking advantage of this mechanism, any changes made to your login buttons will persist through upgrade of JFBConnect installations.
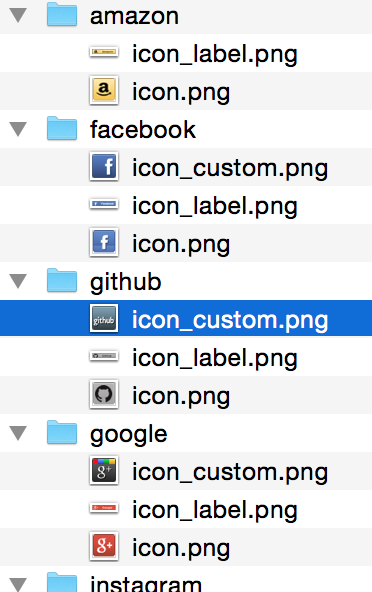 The images are kept in /media/sourcecoast/images/provider. There are many folders in that directory, one for each provider that JFBConnect supports - for instance, amazon, facebook, github, google, instagram, linkedin, meetup, twitter, vk, windowslive. In each of these folders are two image files, icon.png and icon_label.png. These are the two buttons mentioned above, with the simple icon buttons with the Social Media provider logo and the longer button with the Social Media provider logo and the name of the provider.
If you want to install your own set of icons then 1) you need to create icons with the same dimensions as the JFBConnect default icons and 2) you have to give them a different name, like mysite_icon.png and mysite_icon_label.png. Please note, the name of each of the icon image files for each of the providers has to be the same. Just use the same directory structure on your local computer as JFBConnect uses in /media/sourcecoast/provider to keep them from getting mixed up. You have to do this for each of the Social Media providers that you want custom icons for.
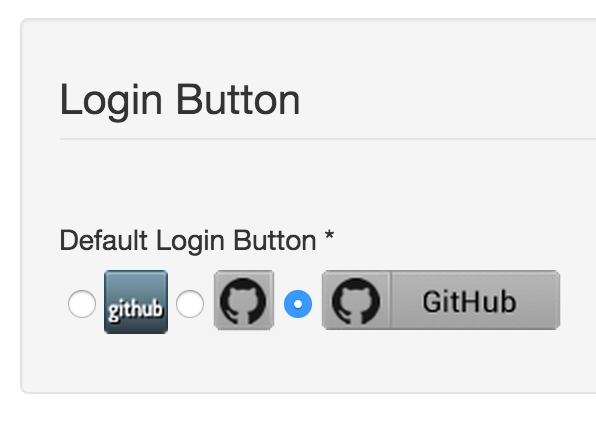
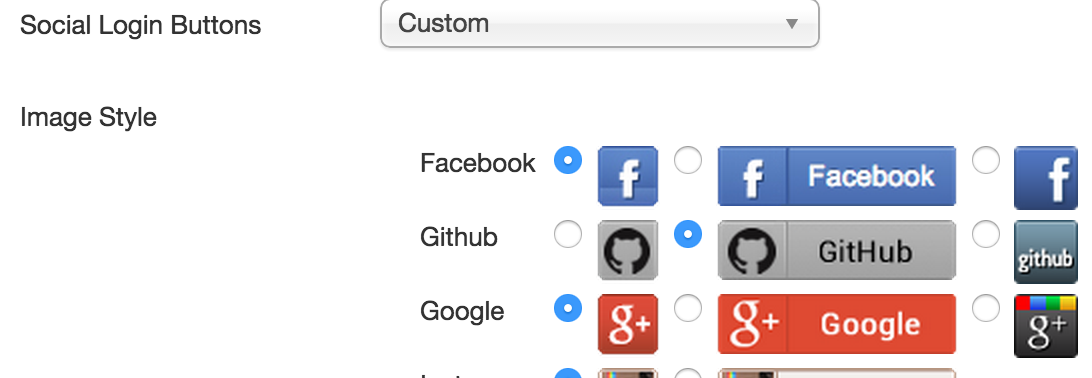
Additionally, once you add your new custom Social Media files as described above, you will have to make a couple of changes in your JFBConnect configuration:
By taking advantage of this mechanism, any changes made to your login buttons will persist through upgrade of JFBConnect installations.