Purchasing an SSL Certificate for Facebook
Once you've chosen the best SSL certificate for your needs and generated a CSR, you'll need to purchase it from The SSL Store. Once added to your cart and purchased, if you go to your Order Summary page, you'll see the following:
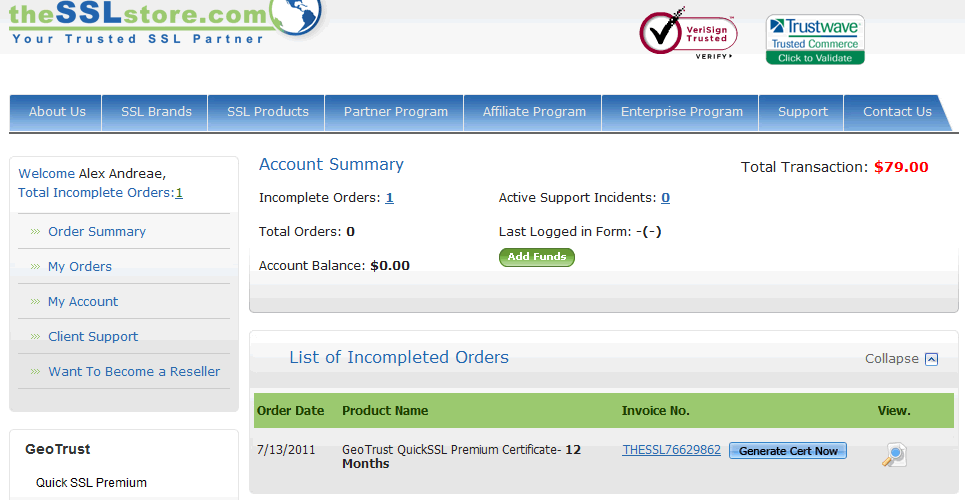
Click on the blue "Generate New Certificate" button. Once there, you'll see a page similar to:
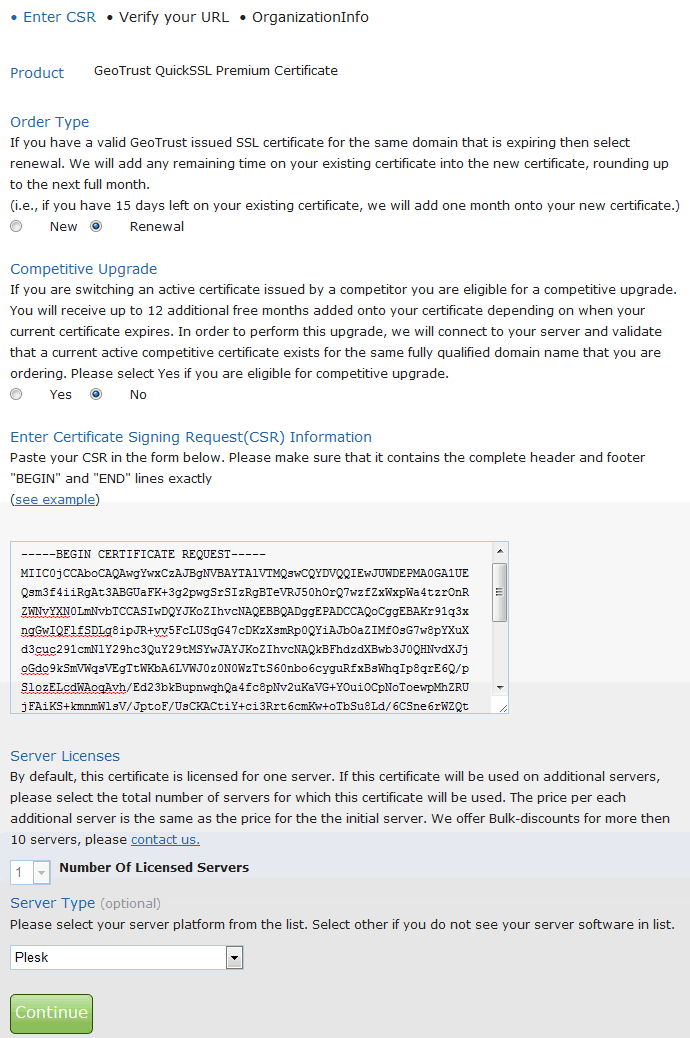
On this page, you should select New if this is the first certificate you are purchasing from The SSL Store. If you currently have an SSL certificate on your site, you can select the Competitive Upgrade option, which will add any time left on your current SSL certificate to your new one. Finally, add the CSR you generated from your site and select your Server Type.
Once you hit continue, you'll be asked to confirm the information you submitted. After it's confirmed, you will receive an email verifying that you own the domain. Click the link in that email.
Finally, you will receive an email with your new certificate. In you server administration page where you generated the CSR, enter this certificate into the "Certificate" field and save. Your certificate should now work, however, depending on your server configuration, you may need to assign this certifcate to the site you wish to use it on.
Once installed, you'll need to update your Facebook application to use the new SSL version of your site. Edit your application and select the "On Facebook" tab. In the "Secure Tab URL" settings, add an https link to your site to display in each of those views.