Creating a Facebook Application for Joomla takes just a few steps. After it's created, JFBConnect's Autotune tool will automatically configure the application settings best suited for your site. If you're looking to create a business integration for posting to Facebook Pages, connect with Messenger API, etc, please create a Facebook Business Application instead.
Please note that Facebook requires that your site has a valid SSL certificate and works over an SSL connection. If you don't have https for your site, services like Cloudflare are free and add SSL encryption to your site that works with Facebook.
- Log into Facebook with the account that you want to 'own' your Facebook application.
Note: Facebook requires all applications to be owned by real people. You cannot create a Facebook Application using a Facebook 'Page' account.
- Log into the Facebook Developer Center at:
http://developers.facebook.com/apps
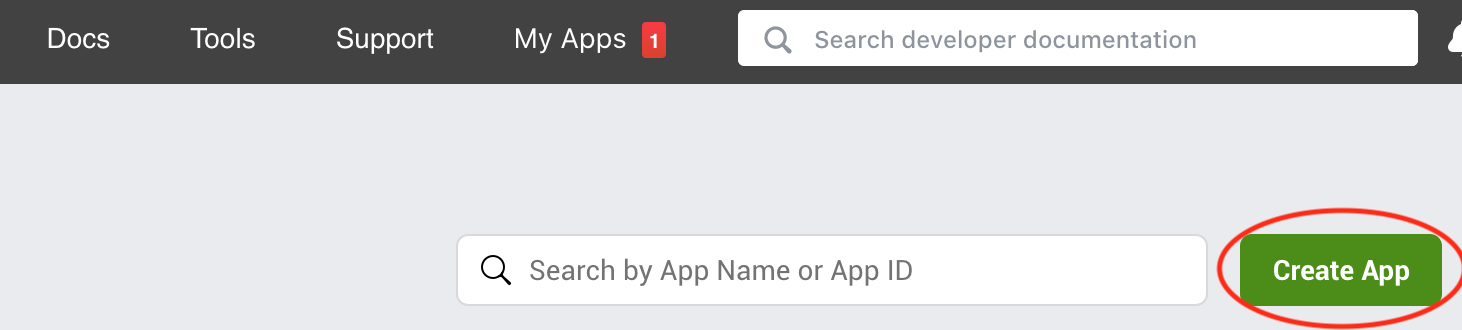
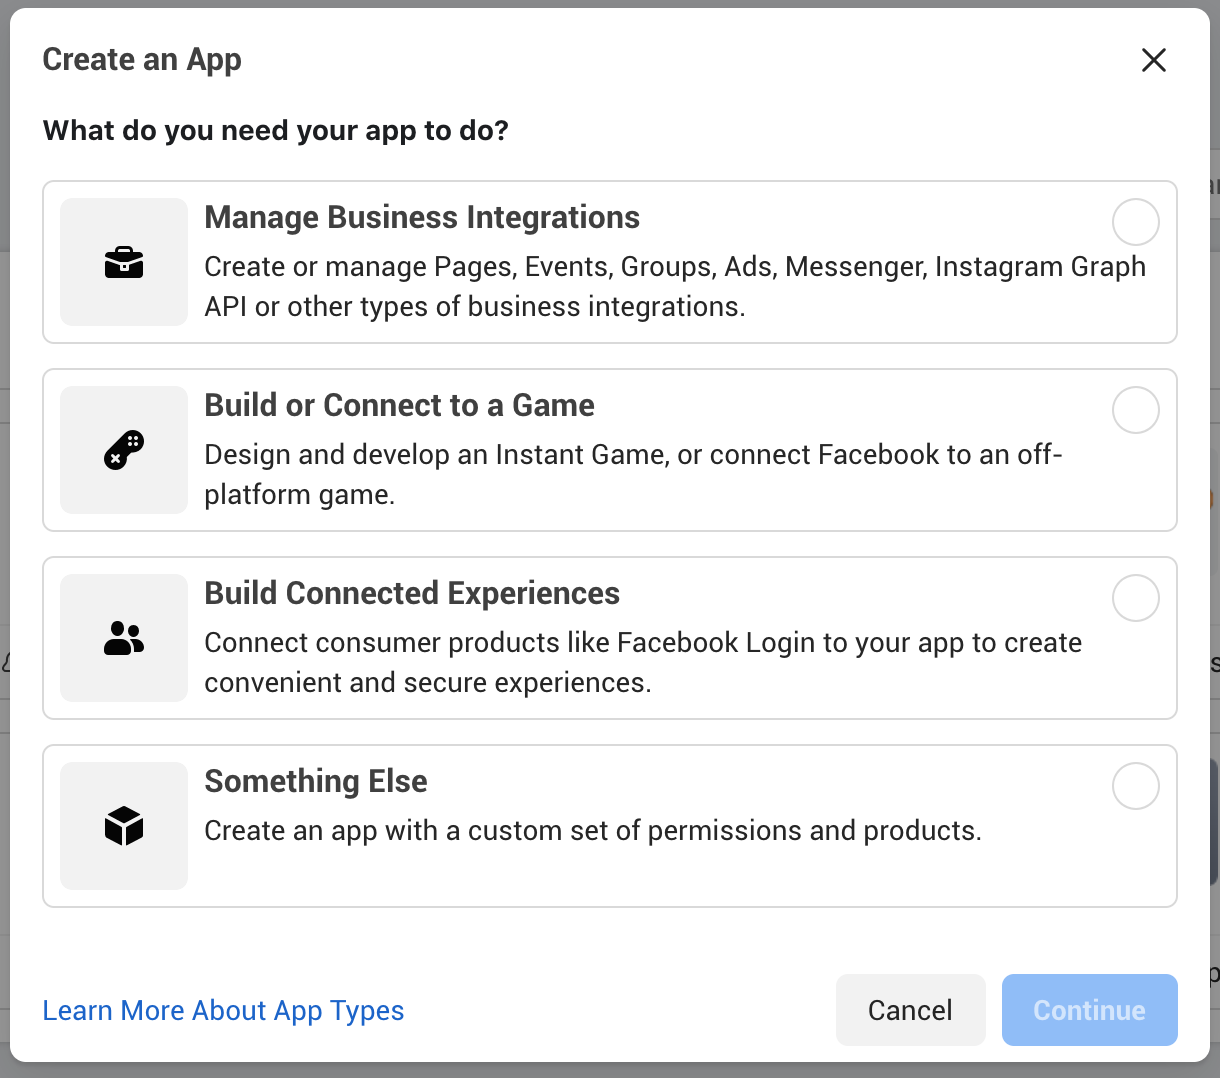
- Click the "Create App" button as shown below:
- On the "Create an App" screen, choose the type of app. Choose Consumer and hit Next.
- Business allows for business integrations with Facebook Login, Pages API for posting to Pages, Messenger API, etc. If you're looking for this instead, please set up a Facebook Business Application.
- Consumer allows detailed profile information to be imported. Use this option to import profile data with JFBConnect into profile extensions such as JomSocial or EasySocial.
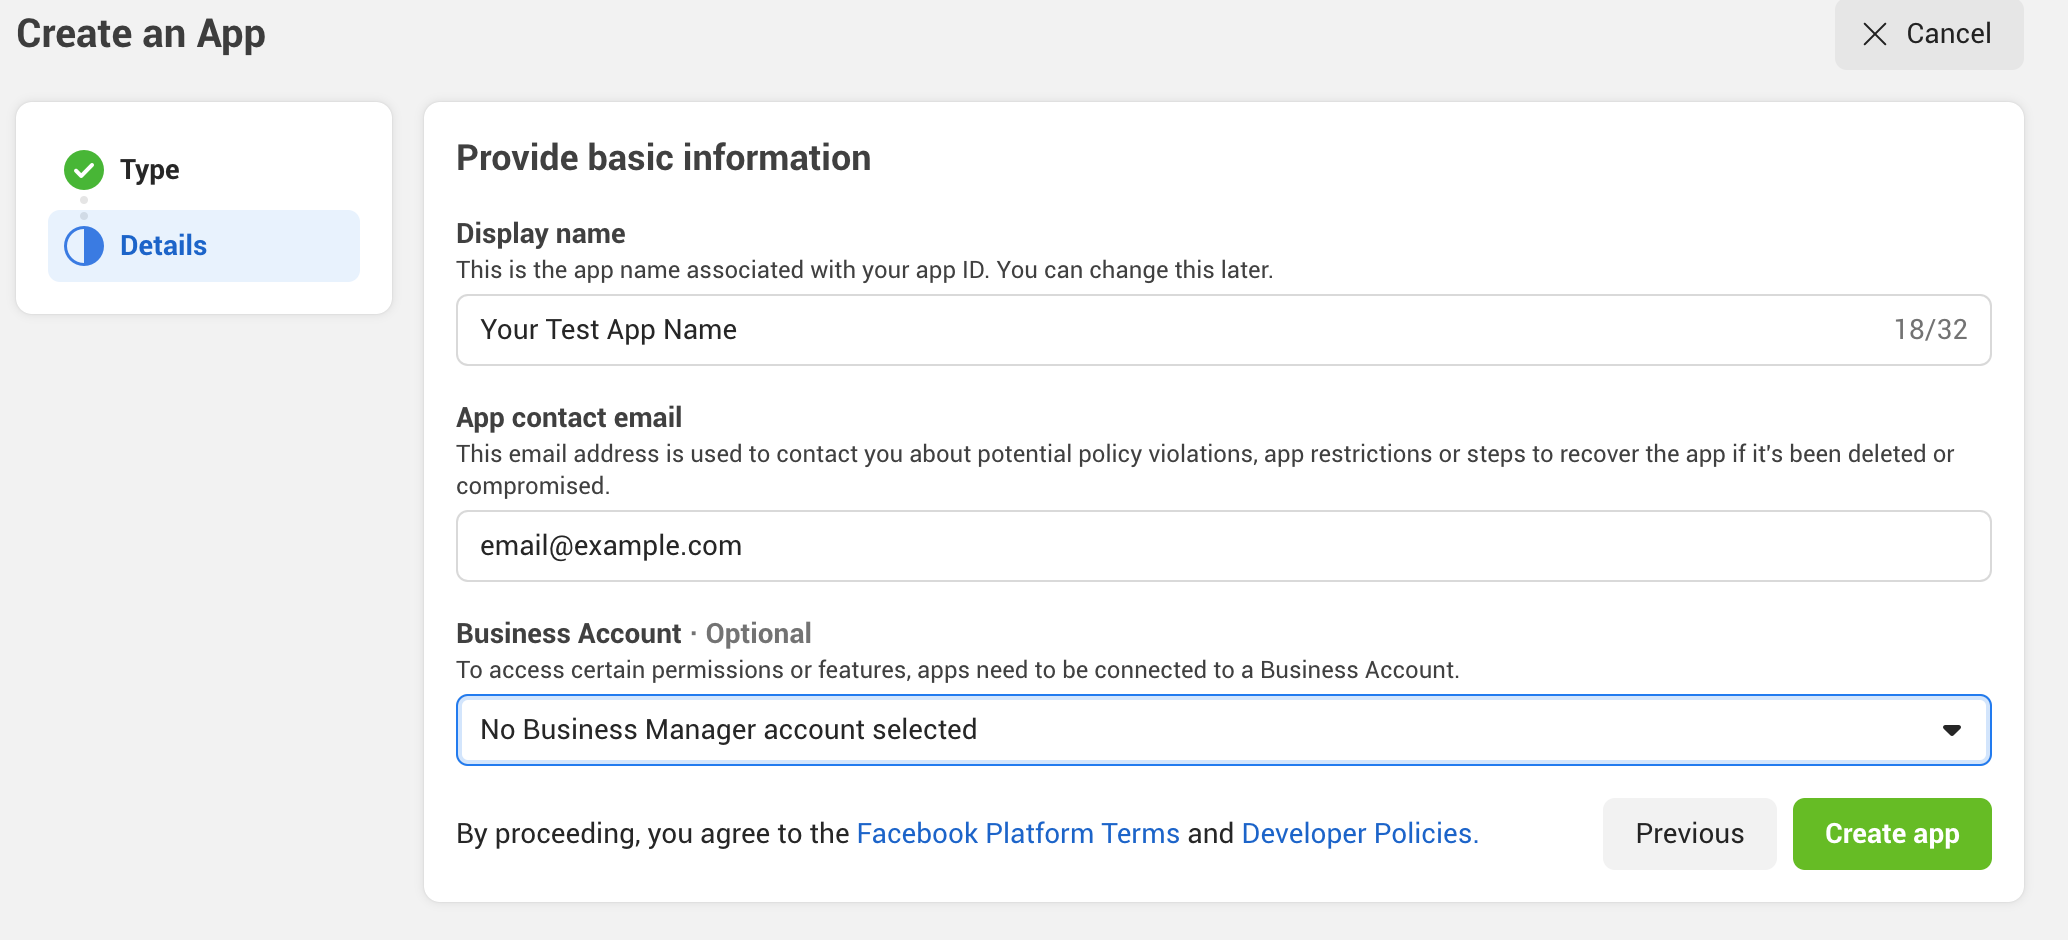
- On the 'Create an App' Details screen, enter an app name and contact email address.
- Click 'Create App' button.
- Fill in the Captcha at the Security Check screen and click the Submit button.
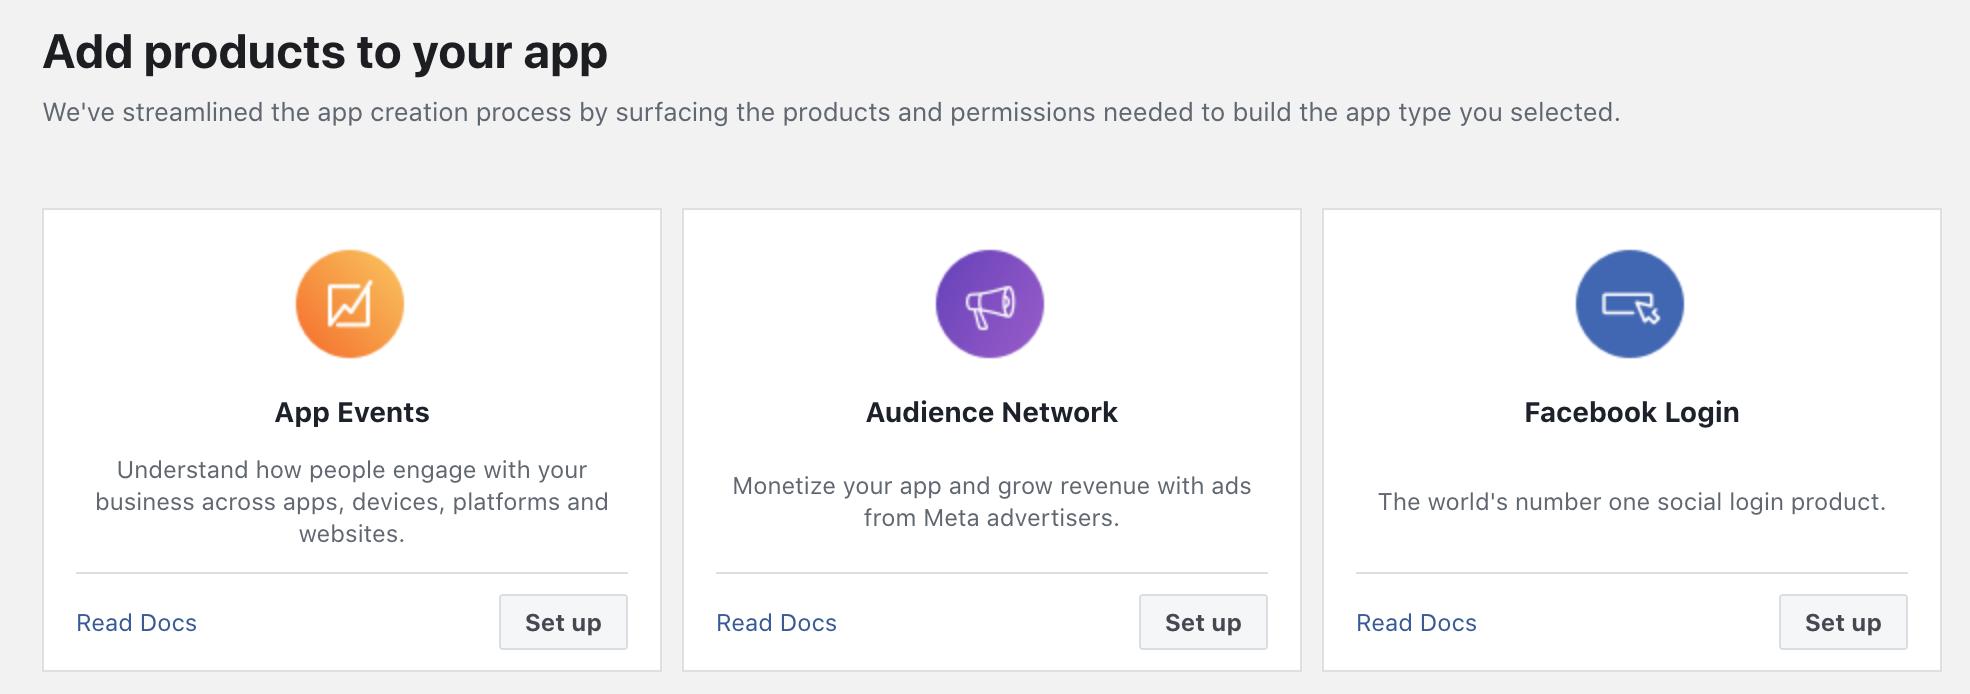
- The application will be created at this point. You'll be redirected to the Add Products to Your App section. Select the 'Set Up' button for the 'Facebook Login' product.
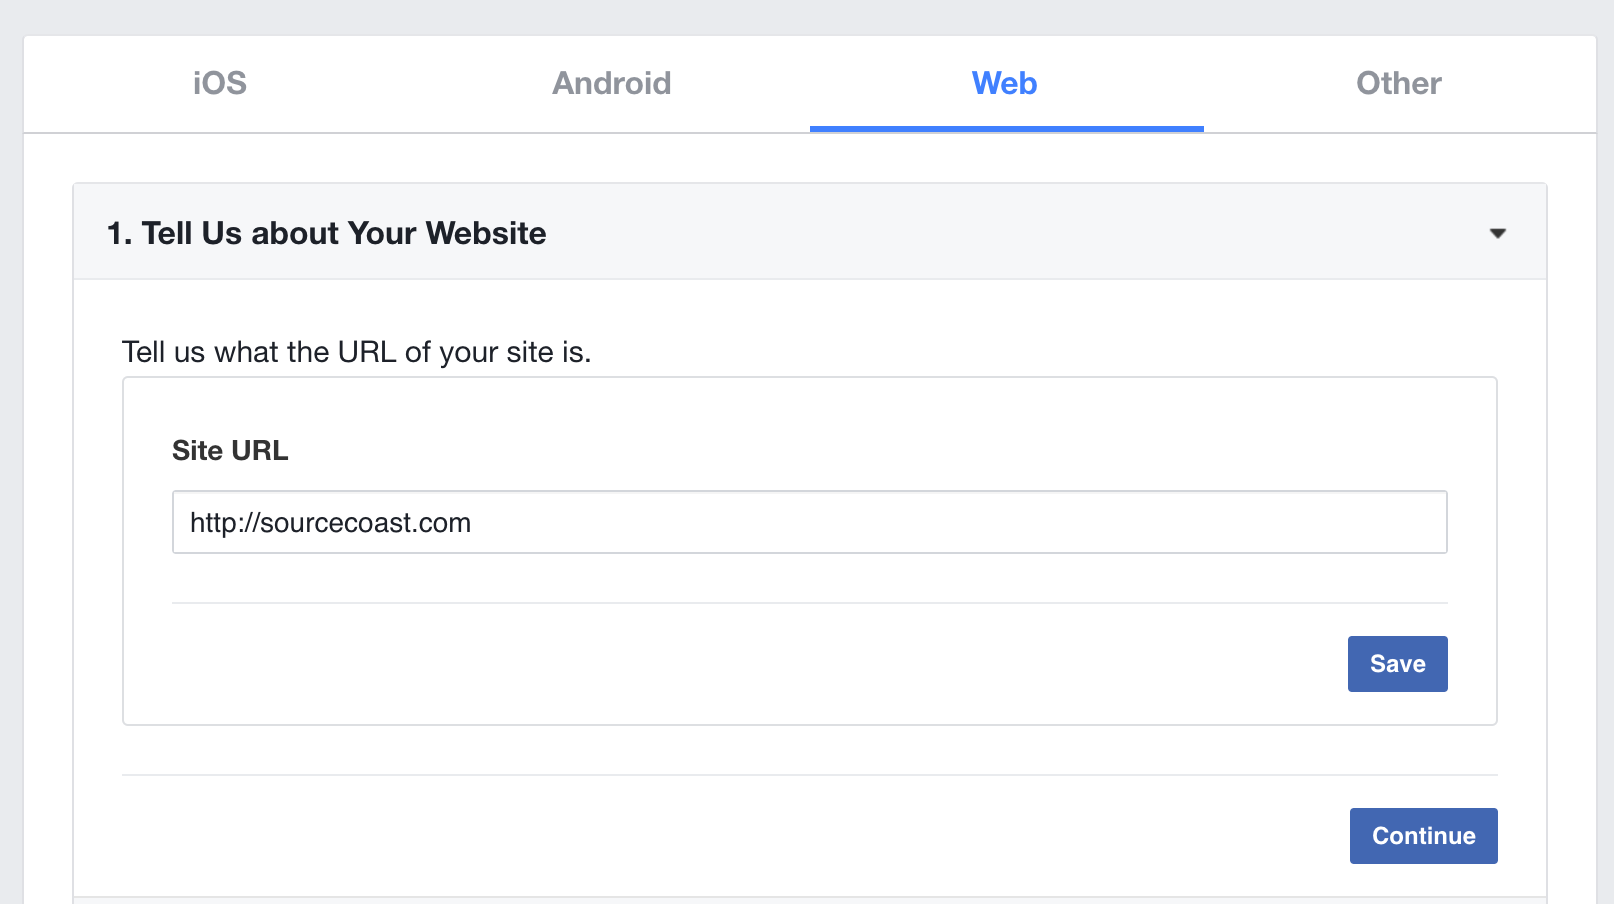
- On the "Choose Platform" screen (below), select Web (www) as the platform.
- Enter the "Site URL" (below) and click the Save button. Once Facebook determines that there are no errors, the Continue button will become enabled. Click the Continue button.
- Skip the 'Set up the Facebook SDK for Javascript', 'Check Login Status' or 'Add the Facebook Login Button' sections by clicking the Next button. You will use JFBConnect to add any Login, Share or Social widgets to your page.
Settings > Basic
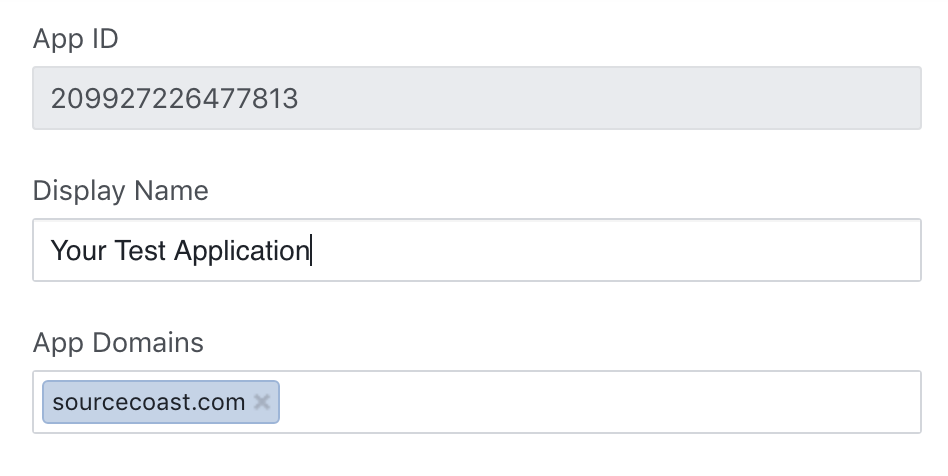
- Navigate into the Settings > Basic section for your app. You should see a large window with information like the image below:
- Click the Show button to reveal your App Secret. Copy your "App ID" and "App Secret" down. You will use it in the Autotune Configuration Tool within JFBConnect.
- Add an "App Domain" by entering text and hitting the 'Enter/Return' key to add the entry. This must match the domain of the Website URL you already entered.
- Select a "Category" for the app.
- Enter a "Privacy Policy URL".
- Hit the Save Changes button at the bottom of the page.
Settings > Advanced
- Navigate to the Settings > Advanced tab and set the "Native or Desktop app?" setting to 'No'
Settings > Advanced > Security
- Enable the "Allow API Access to App Settings". This will allow JFBConnect's Autotune Configuration Tool access to setting up the application further.
- Once enabled, click Save Changes.
- Copy the value from "Client Token" and paste into JFBConnect backend > Configuration > Facebook > "Facebook Client Token" setting.
Products > Facebook Login > Settings
- Fill out the "Valid OAuth redirect URIs" setting with the following URLs (replacing yourdomain.com with your actual domain name). Secure HTTPS is required for Facebook Login. If you have multiple ways to access your domain (like www or non-www), add them all here, like below. Once done, click Save Changes.
https://yourdomain.com/index.php?option=com_jfbconnect&task=authenticate.callback&provider=facebook
https://www.yourdomain.com/index.php?option=com_jfbconnect&task=authenticate.callback&provider=facebook
- Set "Login from Devices" set to No.
- Set "Login with the JavaScript SDK" set to Yes and add your domain to "Allowed Domains for the JavaScript SDK".
- Set the "Deauthorize Callback URL" setting like the following:
https://yourdomain.com/index.php?option=com_jfbconnect&task=deauthorizeUser
- Set the "Data Deletion Requests" setting like the following:
https://yourdomain.com/index.php?option=com_jfbconnect&task=deleteData
- Click "Save Changes".
- You do not need to configure any additional fields in your Facebook Application. JFBConnect will automatically configure your Application in the best way possible for your Joomla website.
When you are complete with your Facebook Application, proceed to the Autotune Configuration section of the JFBConnect Configuration guide.


