This configuration guide is for JFBConnect 8.x/9.x for Joomla 3.x and 4.x
The installation an initial configuration process is covered in the following video as well as the documentation over the next few pages.
Installation of JFBConnect is just like other Joomla components:
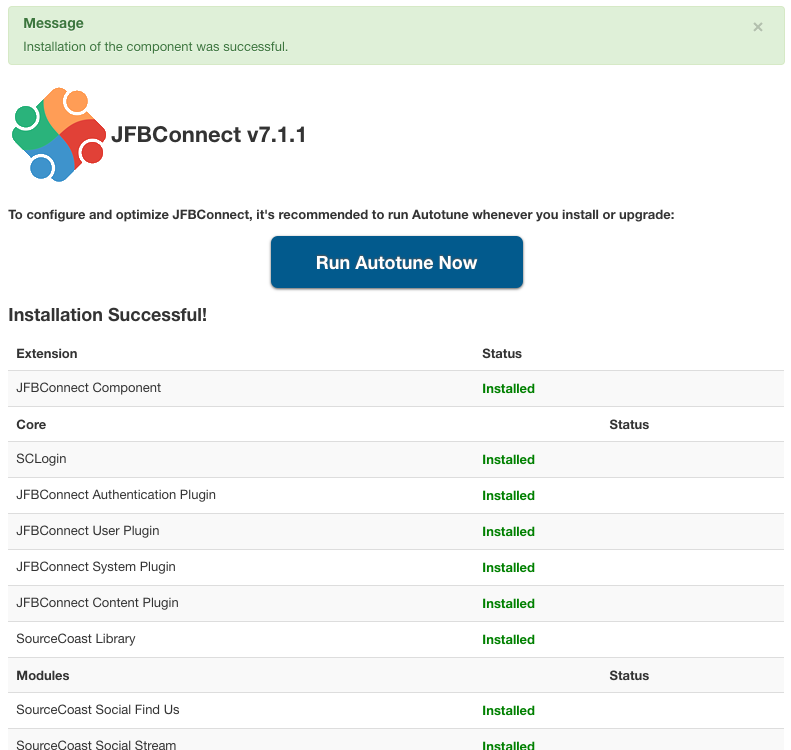
You should see an output window similar to the one below upon successful installation:
The installation process will install multiple modules and plugins for integration with Facebook. For JFBConnect version 9.x and later, plugins for additional social networks, such as Google, Twitter, and LinkedIn need to be installed and enabled separately. Additional plugins for integration with specific 3rd party extensions like JomSocial, Community Builder, jReviews and others will be installed if those extensions are installed on your site.
Once installed, click the "Run Autotune Now" button. You will need your social network Application ID and Secret key to use the auto-configuration tool. The next page explains how to get the Application information.